Using Zowe IntelliJ plug-in
Using Zowe IntelliJ plug-in
Learn how to work with the Zowe IntelliJ plug-in, including working with datasets, USS files, and jobs.
Settings
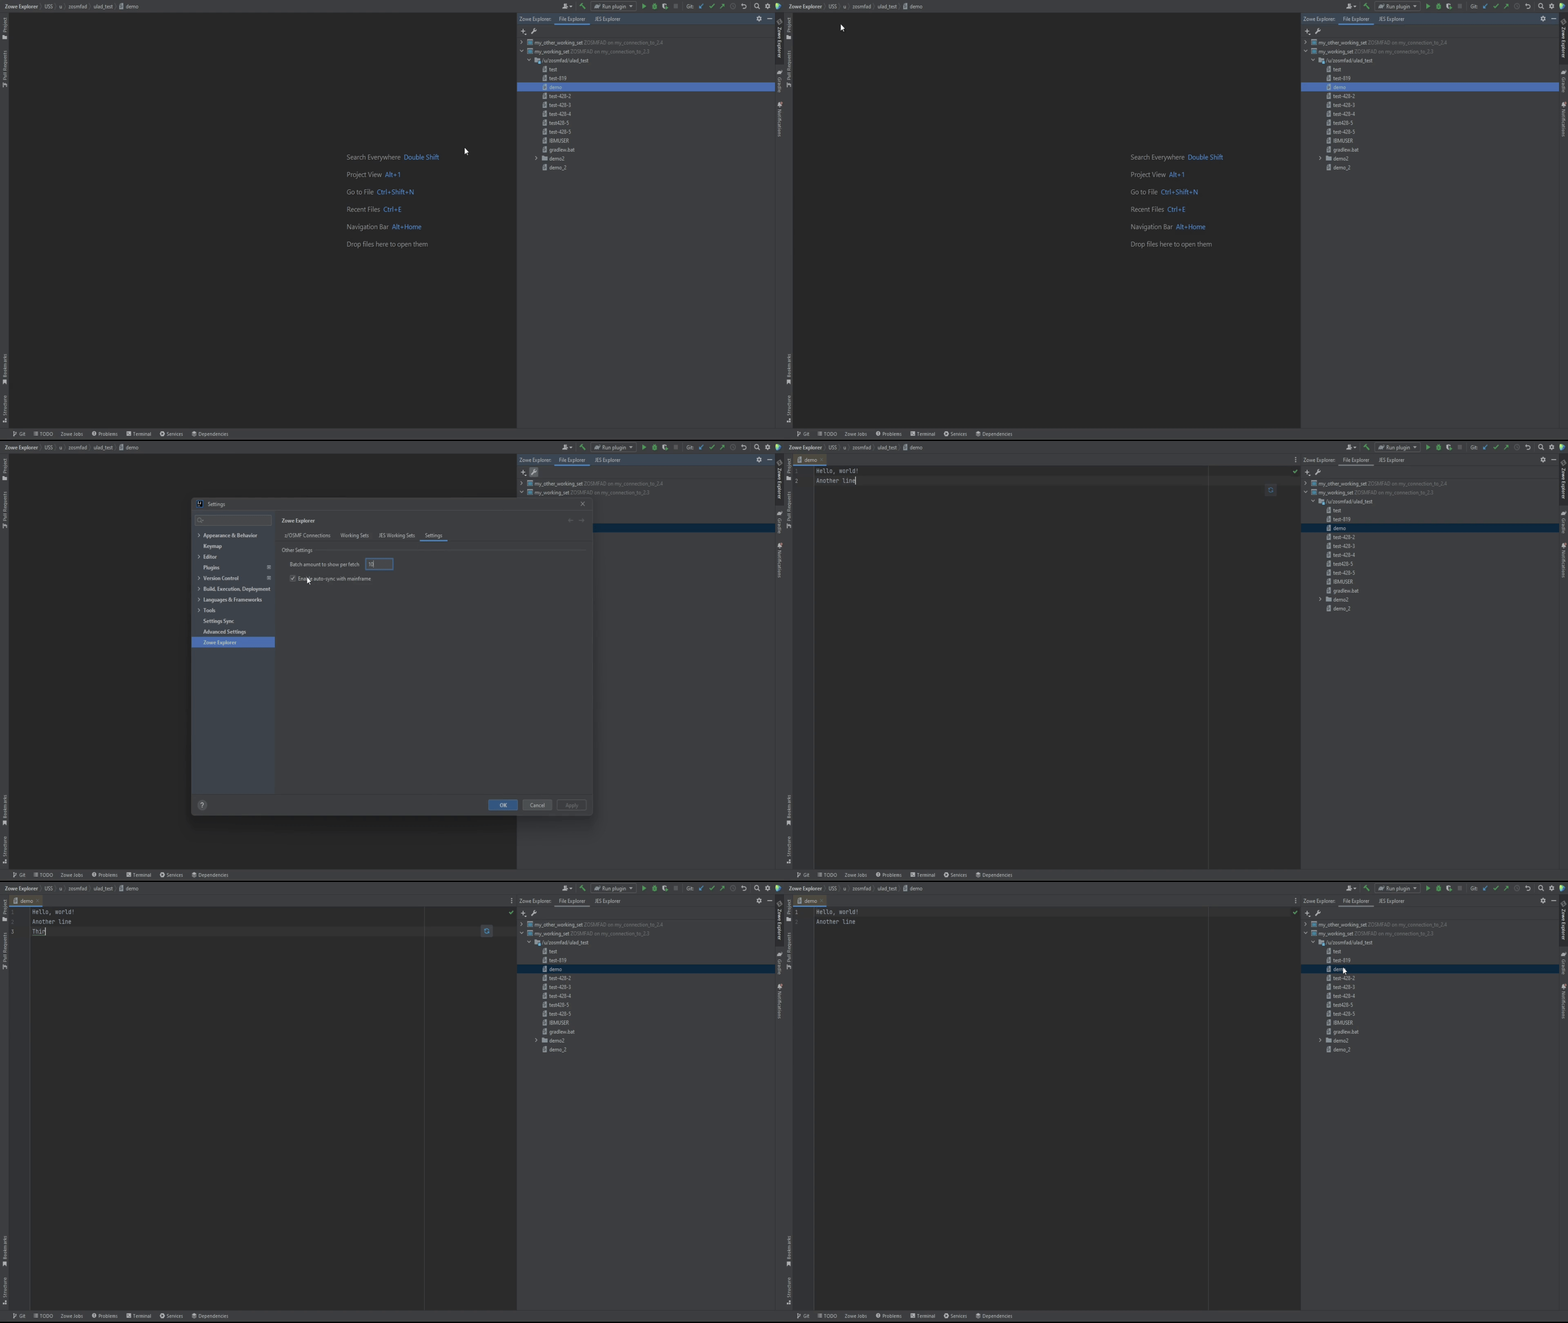
Before you start to use the plug-in, there are some settings available. First one - synchronization option.
Auto-sync option
It is possible to synchronize the file or dataset you are editing either manually or automatically. The method is controlled by Enable auto-sync with mainframe option. When it is checked, you don't need to manually synchronize the file/dataset whilst you are editing it, the IntelliJ platform decides by itself, when and how to synchronize it. The plug-in is using this feature and allows users to avoid additional sync action. In case you want to be sure that you control the process of syncing with the mainframe, or in case you have some limitations for calls to z/OSMF, or for some other reason, you can disable this option and continue with manual synchronization either by button, appearing if there are any changes in the file, or by pressing simultaneously Ctrl + Shift + S (Cmd + Shift + S for MacOS).
Batch size option
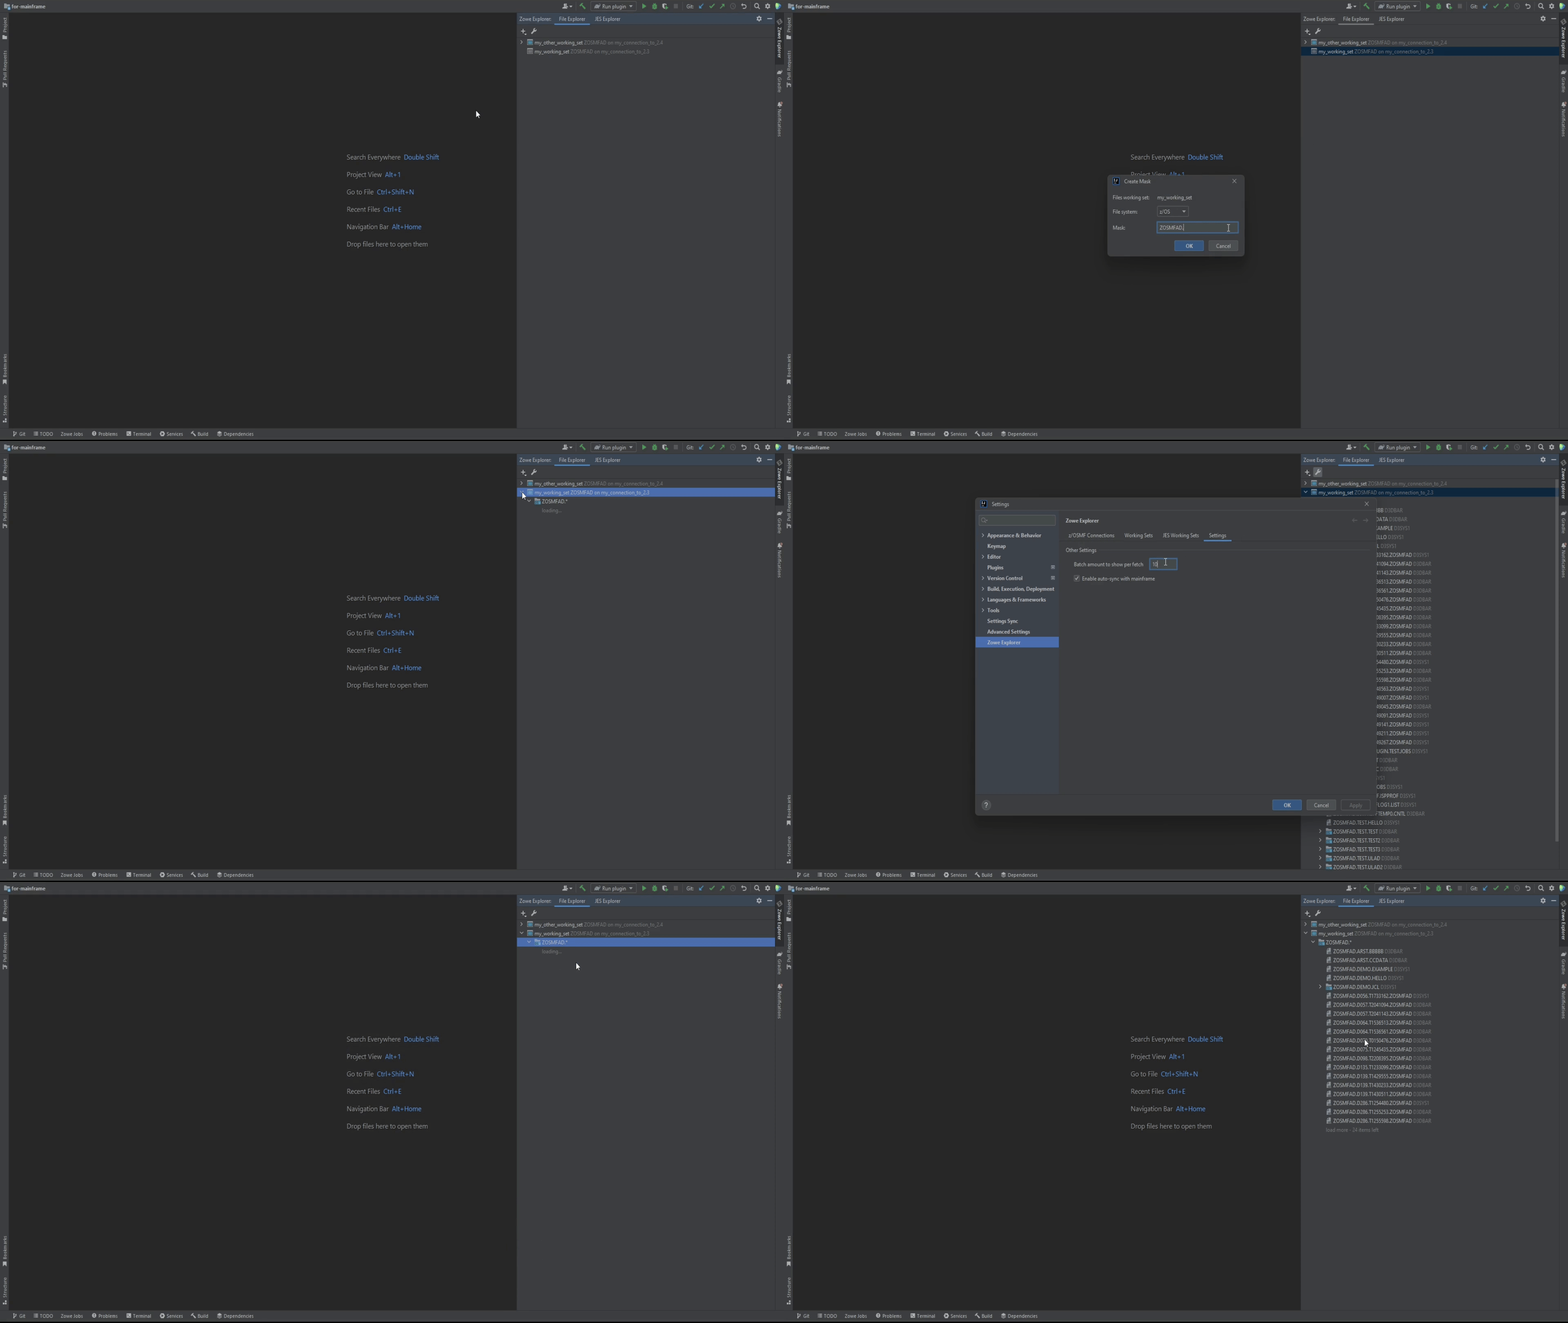
Mainframe z/OS and USS filesystems could have a lot of datasets/files under a specified mask. Sometimes the loading of datasets/files list could take a lot of time if there are a lot of entries. To eliminate this problem, the plug-in provides the ability to control the amount of items loading at one time. It is called Batch amount to show per fetch in Settings. By default, it is set to 100 entries. When the list contains more than the specified number, you can load next amount of entries, specified in this option, double-clicking by load more item in the File Explorer view.
Working with Files Working Sets
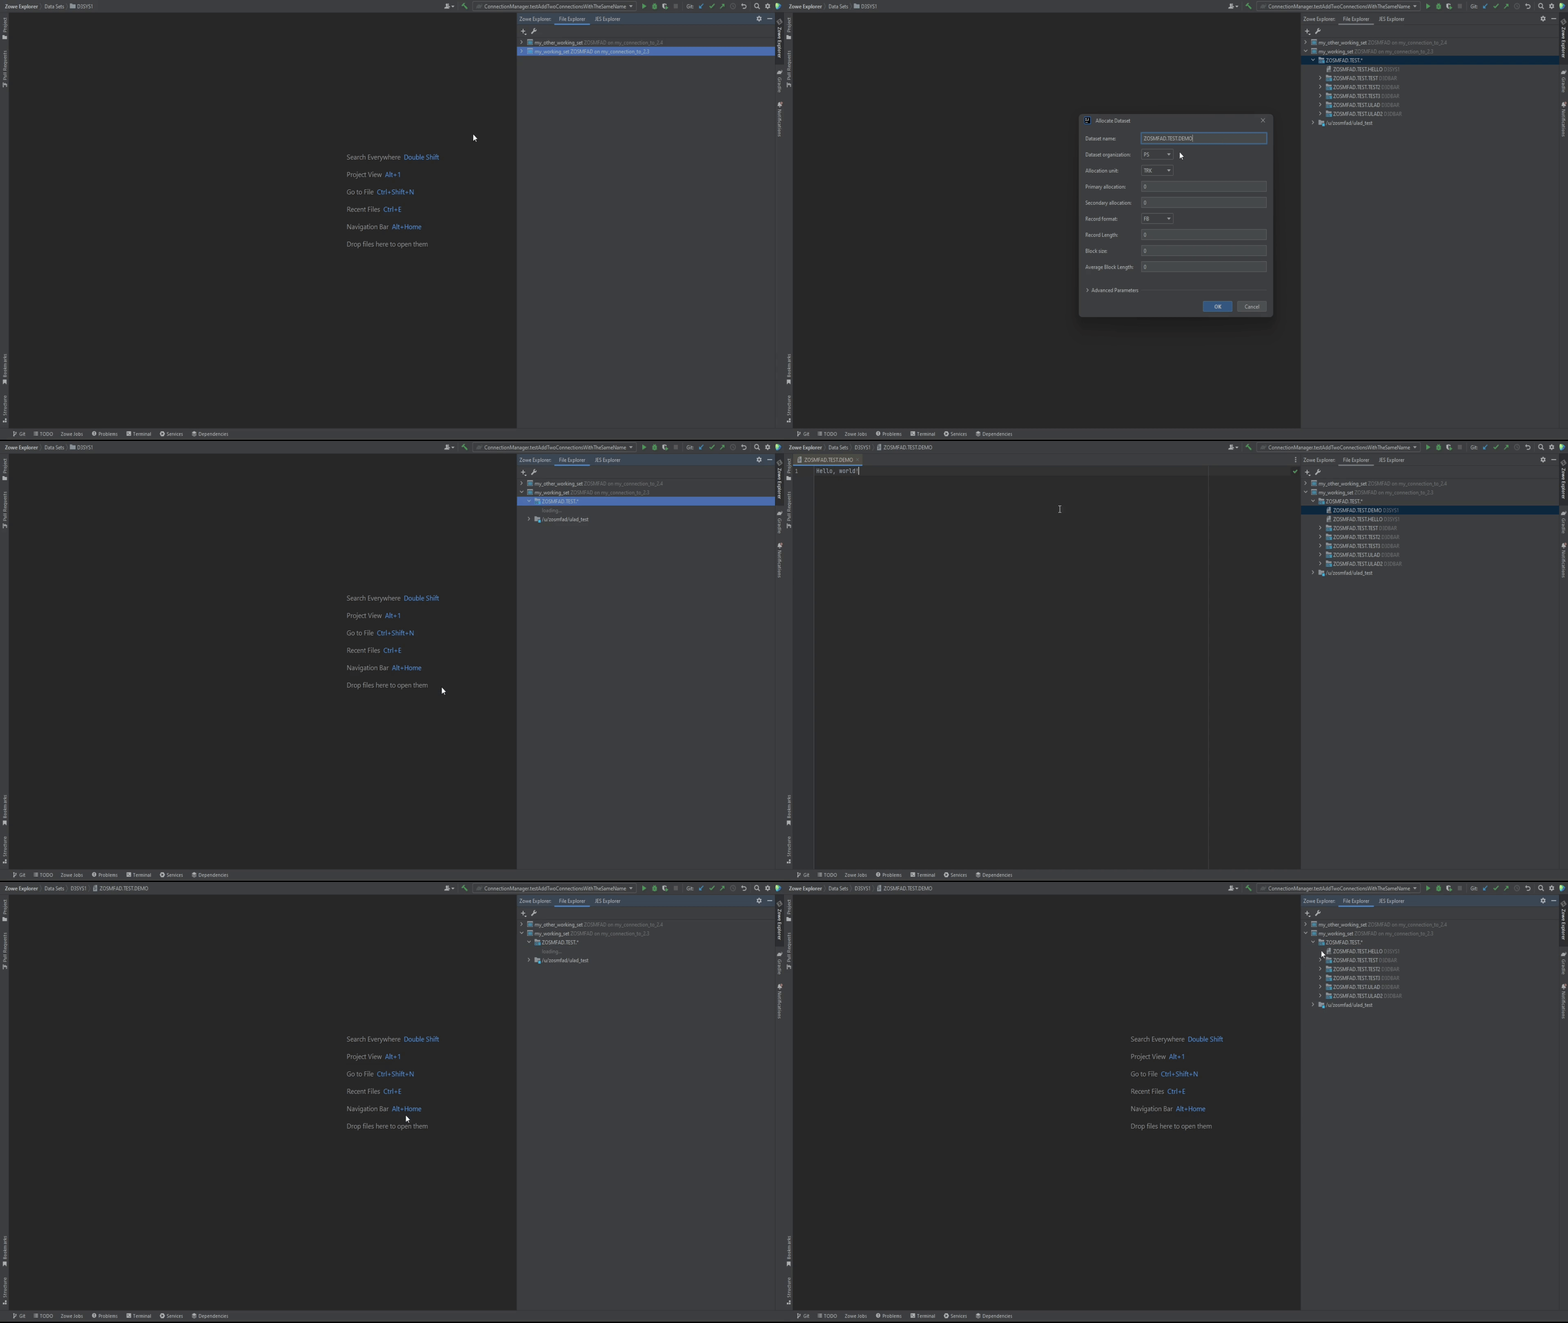
To work with z/OS datasets or USS files, you need to set up a Files Working Set. The most of the functions are available under context menu in Files Working Set view.
Using the plug-in, you will be able to:
- create, rename, view, edit, delete PS, PDS, PDS/e datasets, as well as PDS and PDS/e members
- use feature Allocate Like to create a dataset with parameters of another dataset
- use feature Migrate for datasets
- submit JCL jobs with Submit Job
- create, rename, view, edit, delete USS files and folders
- copy, move z/OS datasets and USS files, both inside the filesystem, and between them, as well as between systems with different IP address
Working with z/OS PS datasets
Working with z/OS PDS datasets
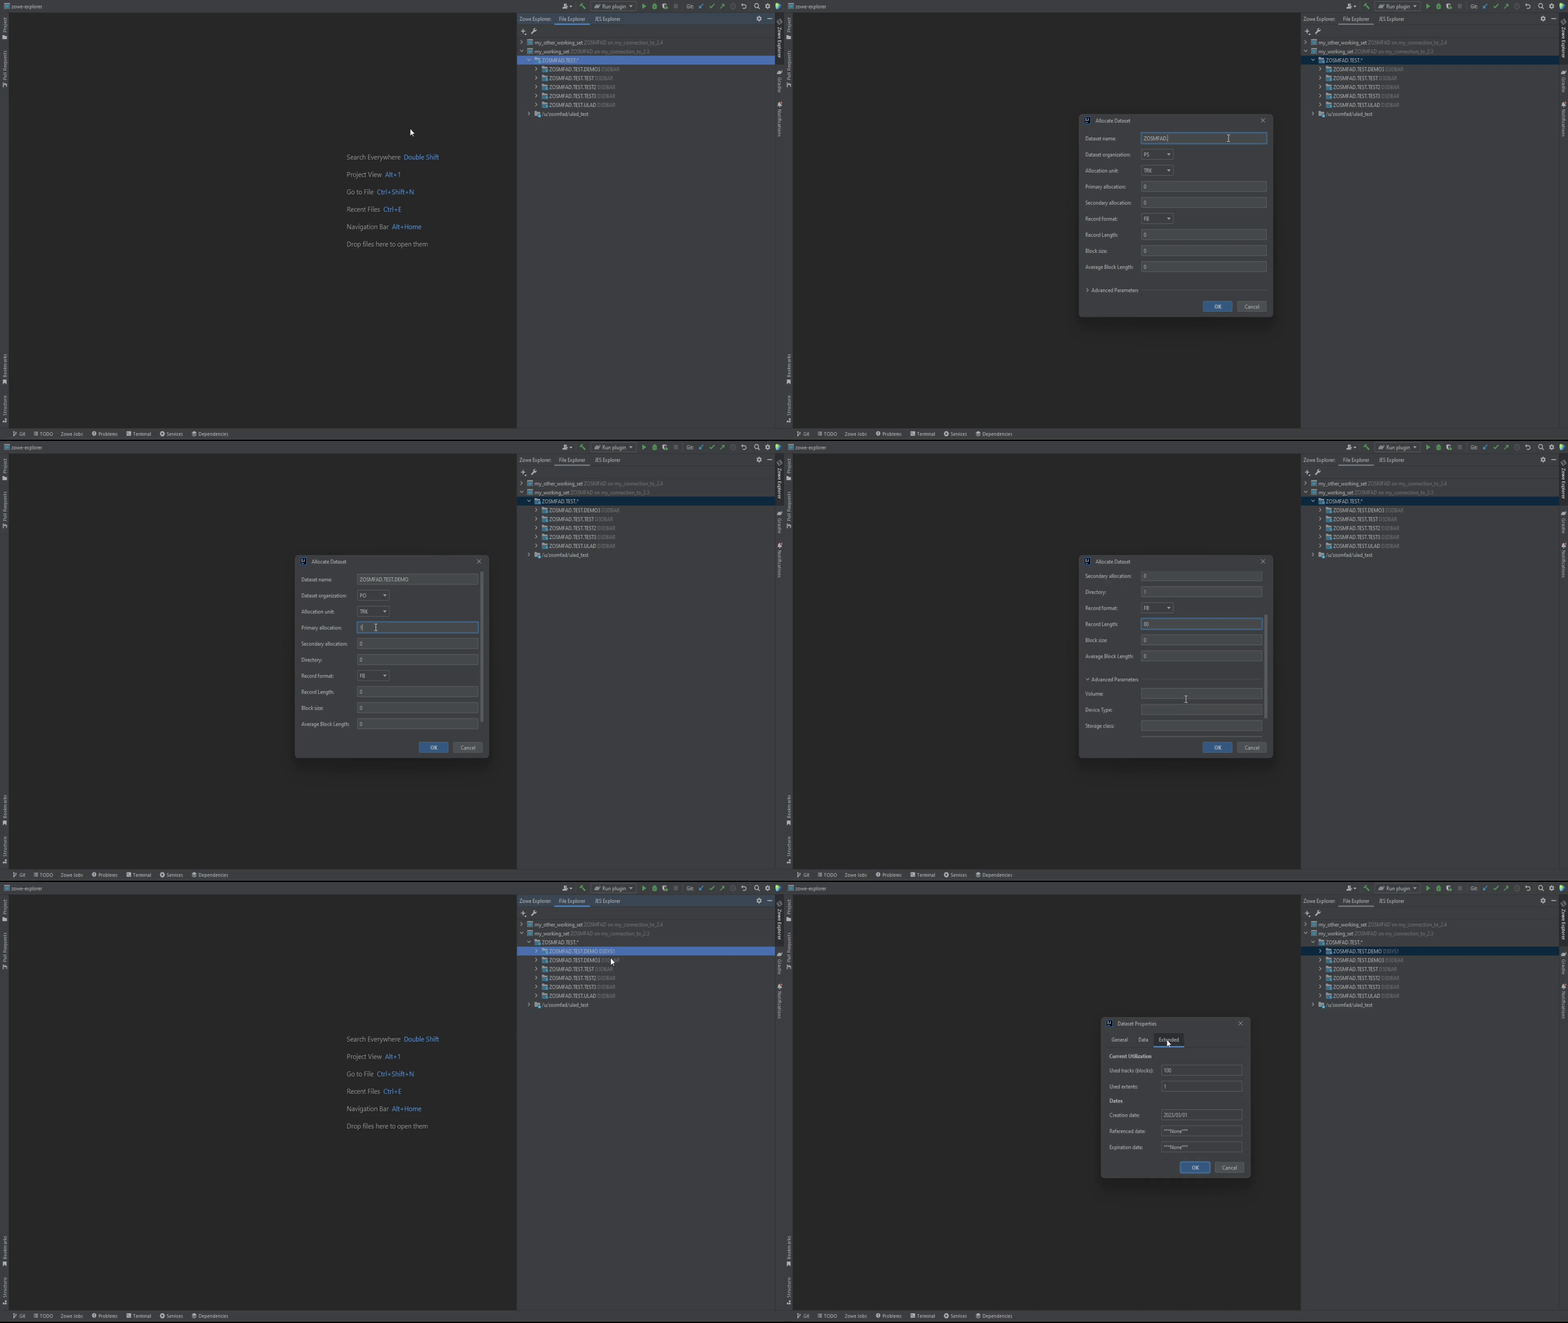
"Allocate Like" feature
To issue the Allocate Like, click the right mouse button on any of datasets and select Allocate Like.
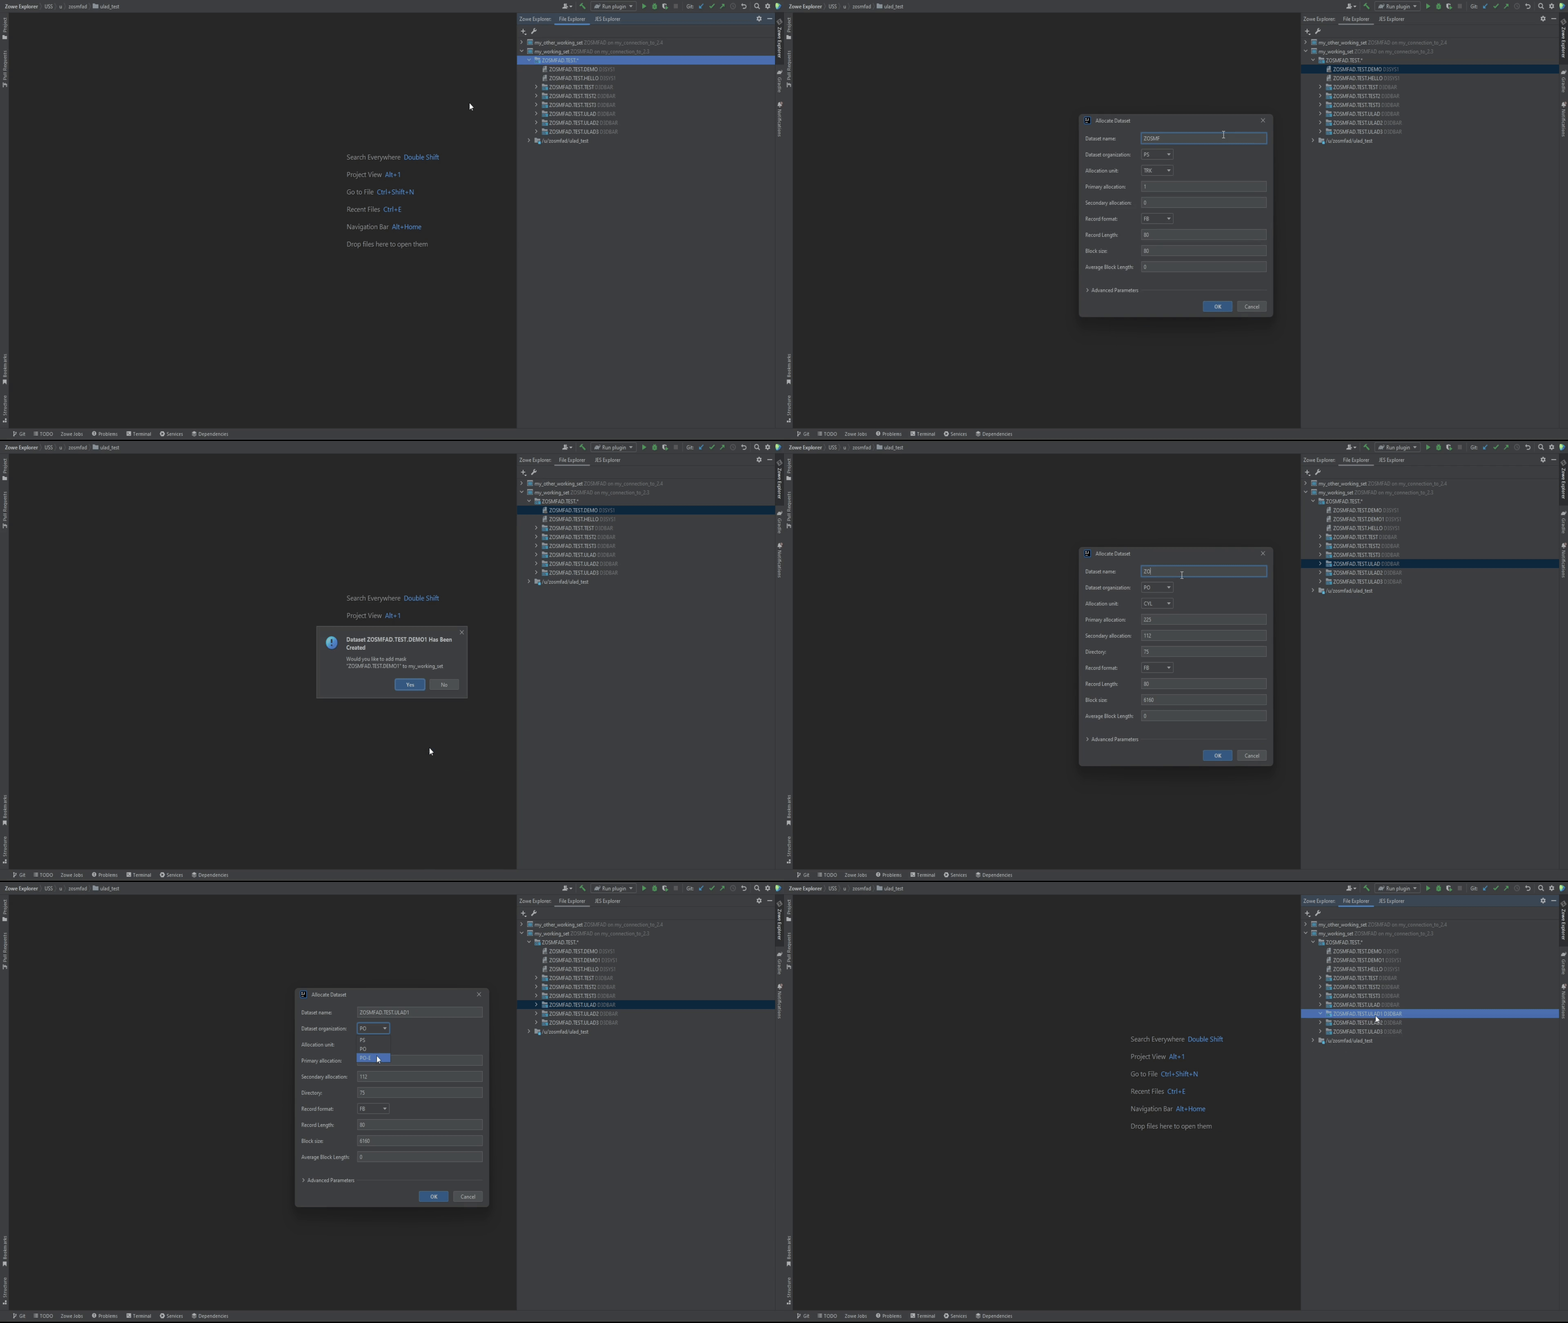
"Submit Job" feature
To issue the Submit Job, click the right mouse button on any of PS datasets or PDS members and select Submit Job.
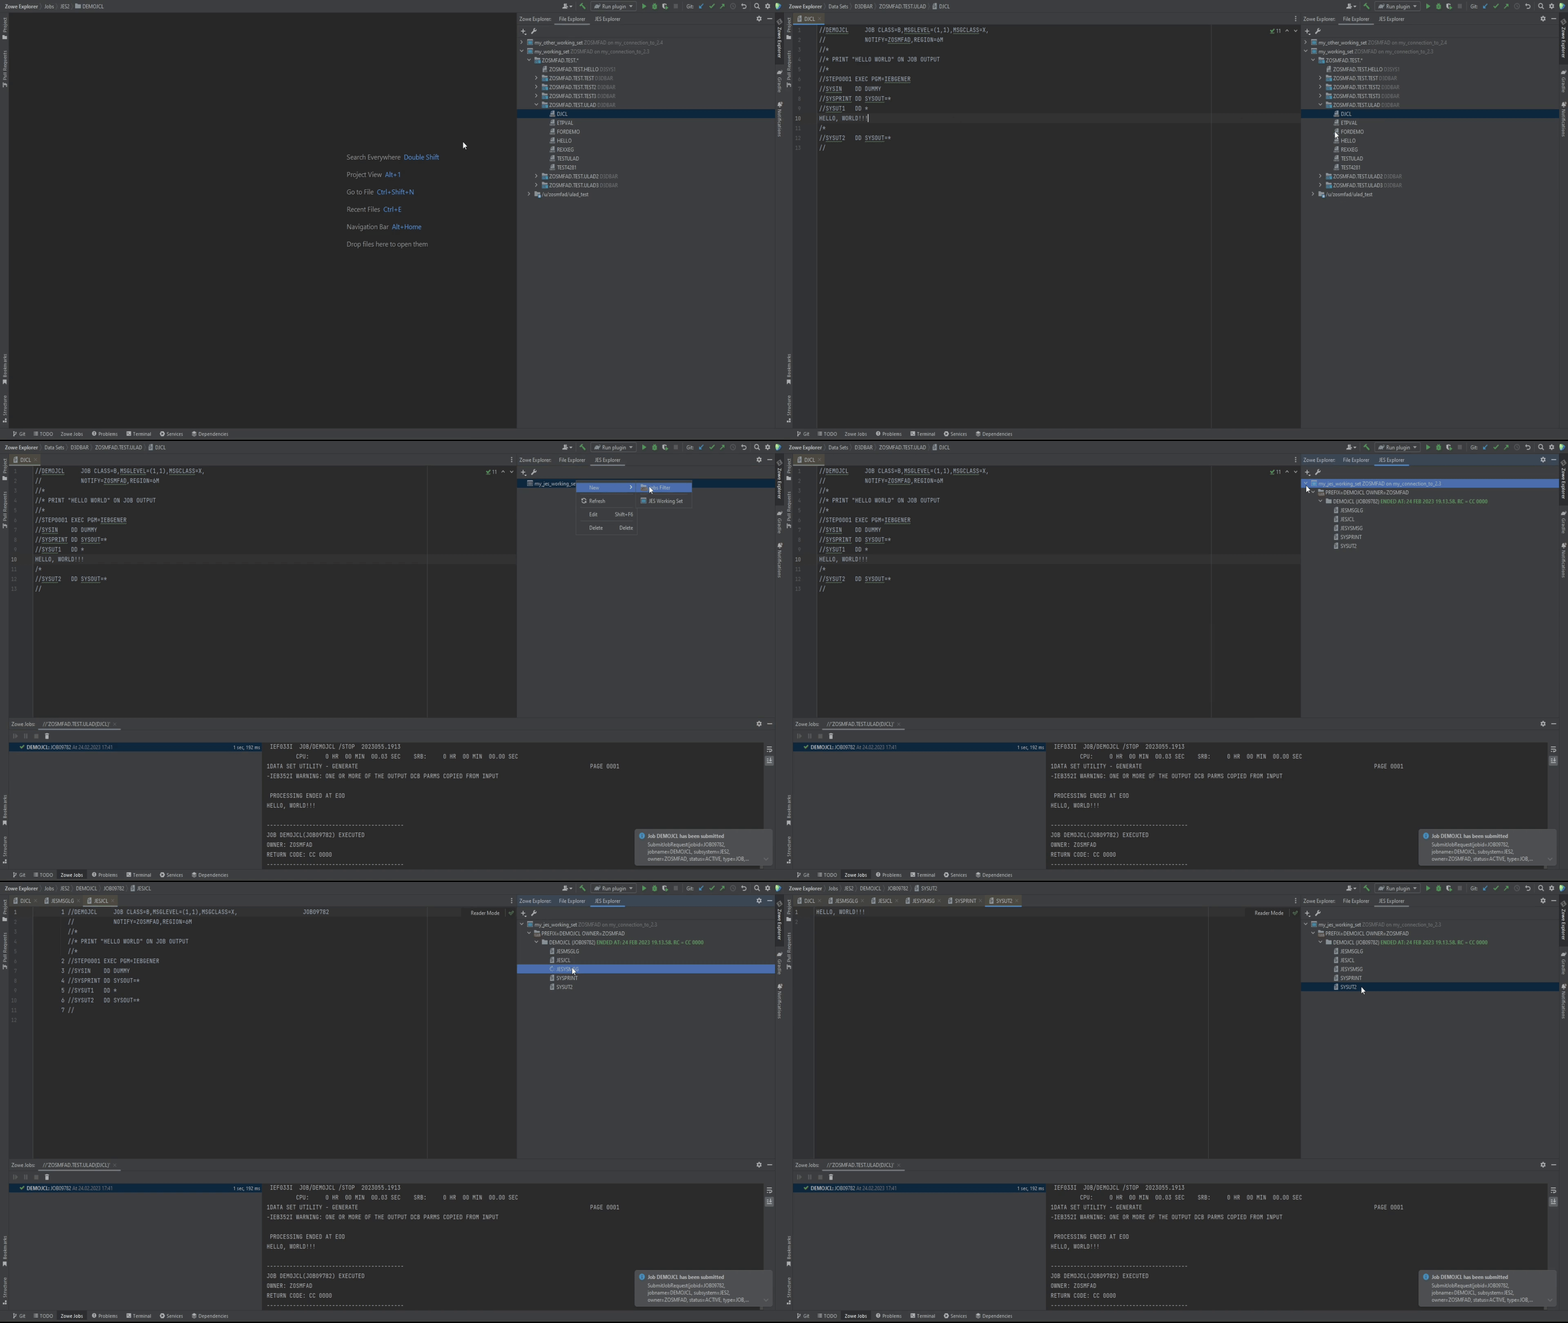
Working with USS files
There is a possibility to work with USS filesystem using the plug-in. Plug-in allows users to create files with a specific set of access rules, edit the file, rename, delete them, copy and move. With the existing ones, it is also possible to change the rules. Also the plug-in allows to change encoding of the file to a desired one, so the content of the file is shown correctly.
About the encoding: there is two different options for encoding change. One is Reload option, which allows users to reload the file with the specified encoding. It means that the file won't be converted to that encoding, and the plug-in just opens it with the specified one. The second option is Convert. This option converts the file to the specified encoding, changing it contents. It means that the plug-in will try to change the file bytes if it is possible, and then will display the contents with the changed bytes.
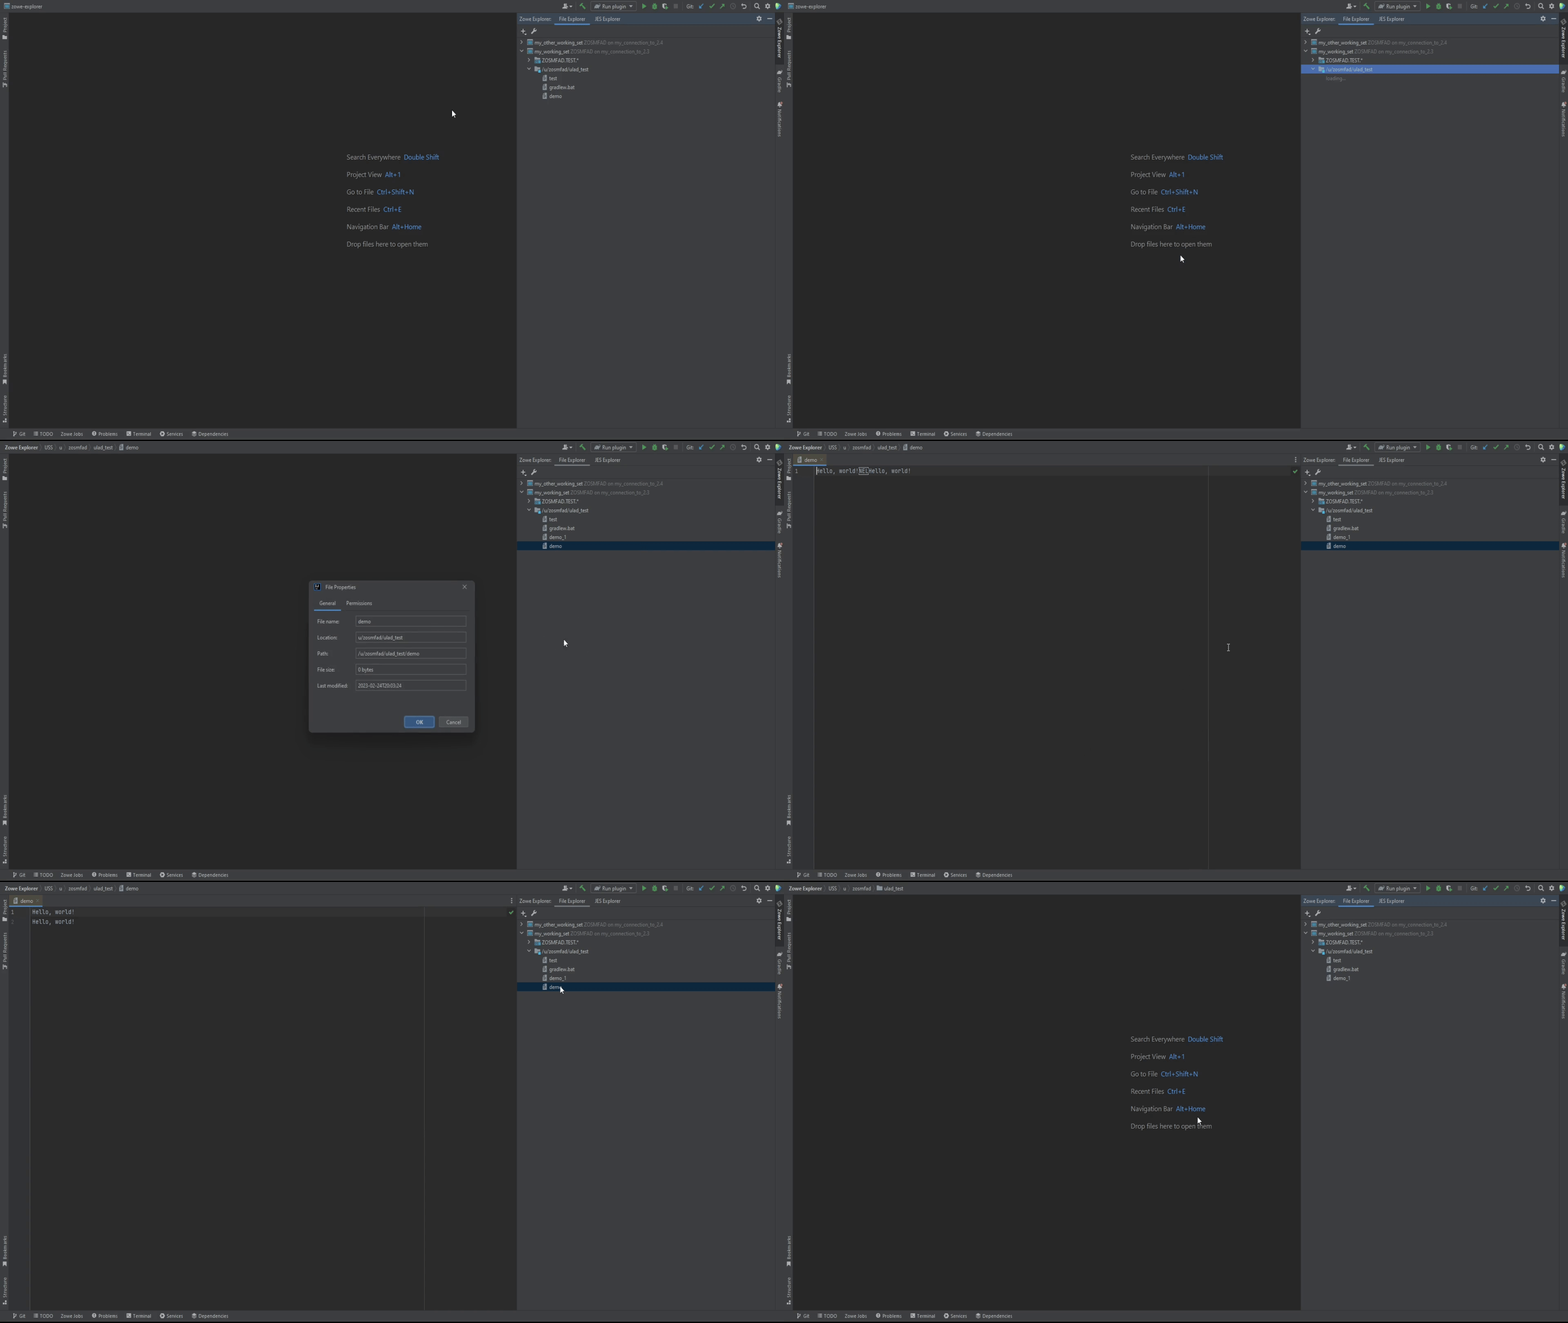
Copy/move functionality
There are some options to copy and move z/OS datasets and members, and USS files.
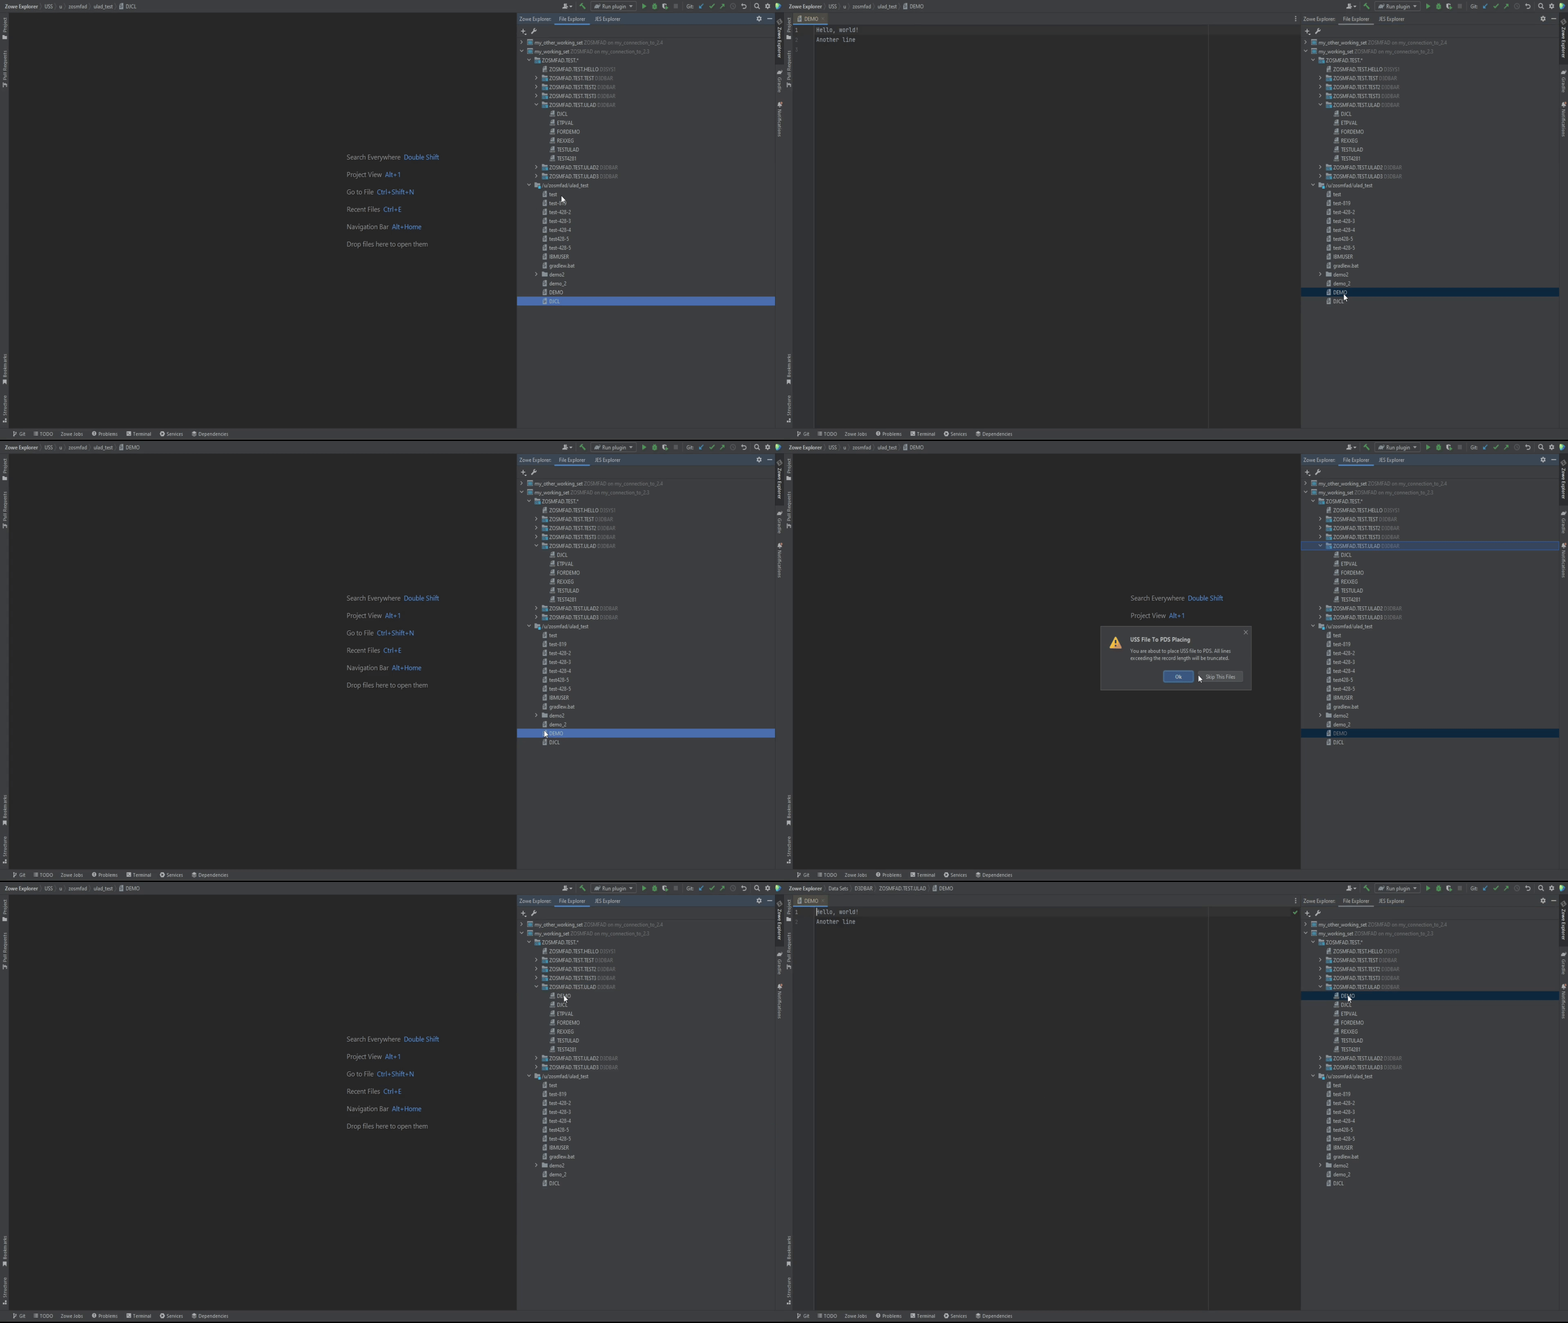
Important note: the contents of the source files and datasets will stay the same, until you try to copy/move a file from USS to a z/OS partitioned dataset. If the file contents are longer than the specified for the PDS logical record length, then firstly the content will be cut to the specified LRECL, and the rest is going to be on the next lines.
It is possible to move and copy files and datasets either through keyboard shortcut buttons and context menu, or using drag and drop.
To move a member from one dataset to another:
- Right click on the member to be moved
- Select Cut
- On the target dataset click Paste
- ...or just drag and drop it
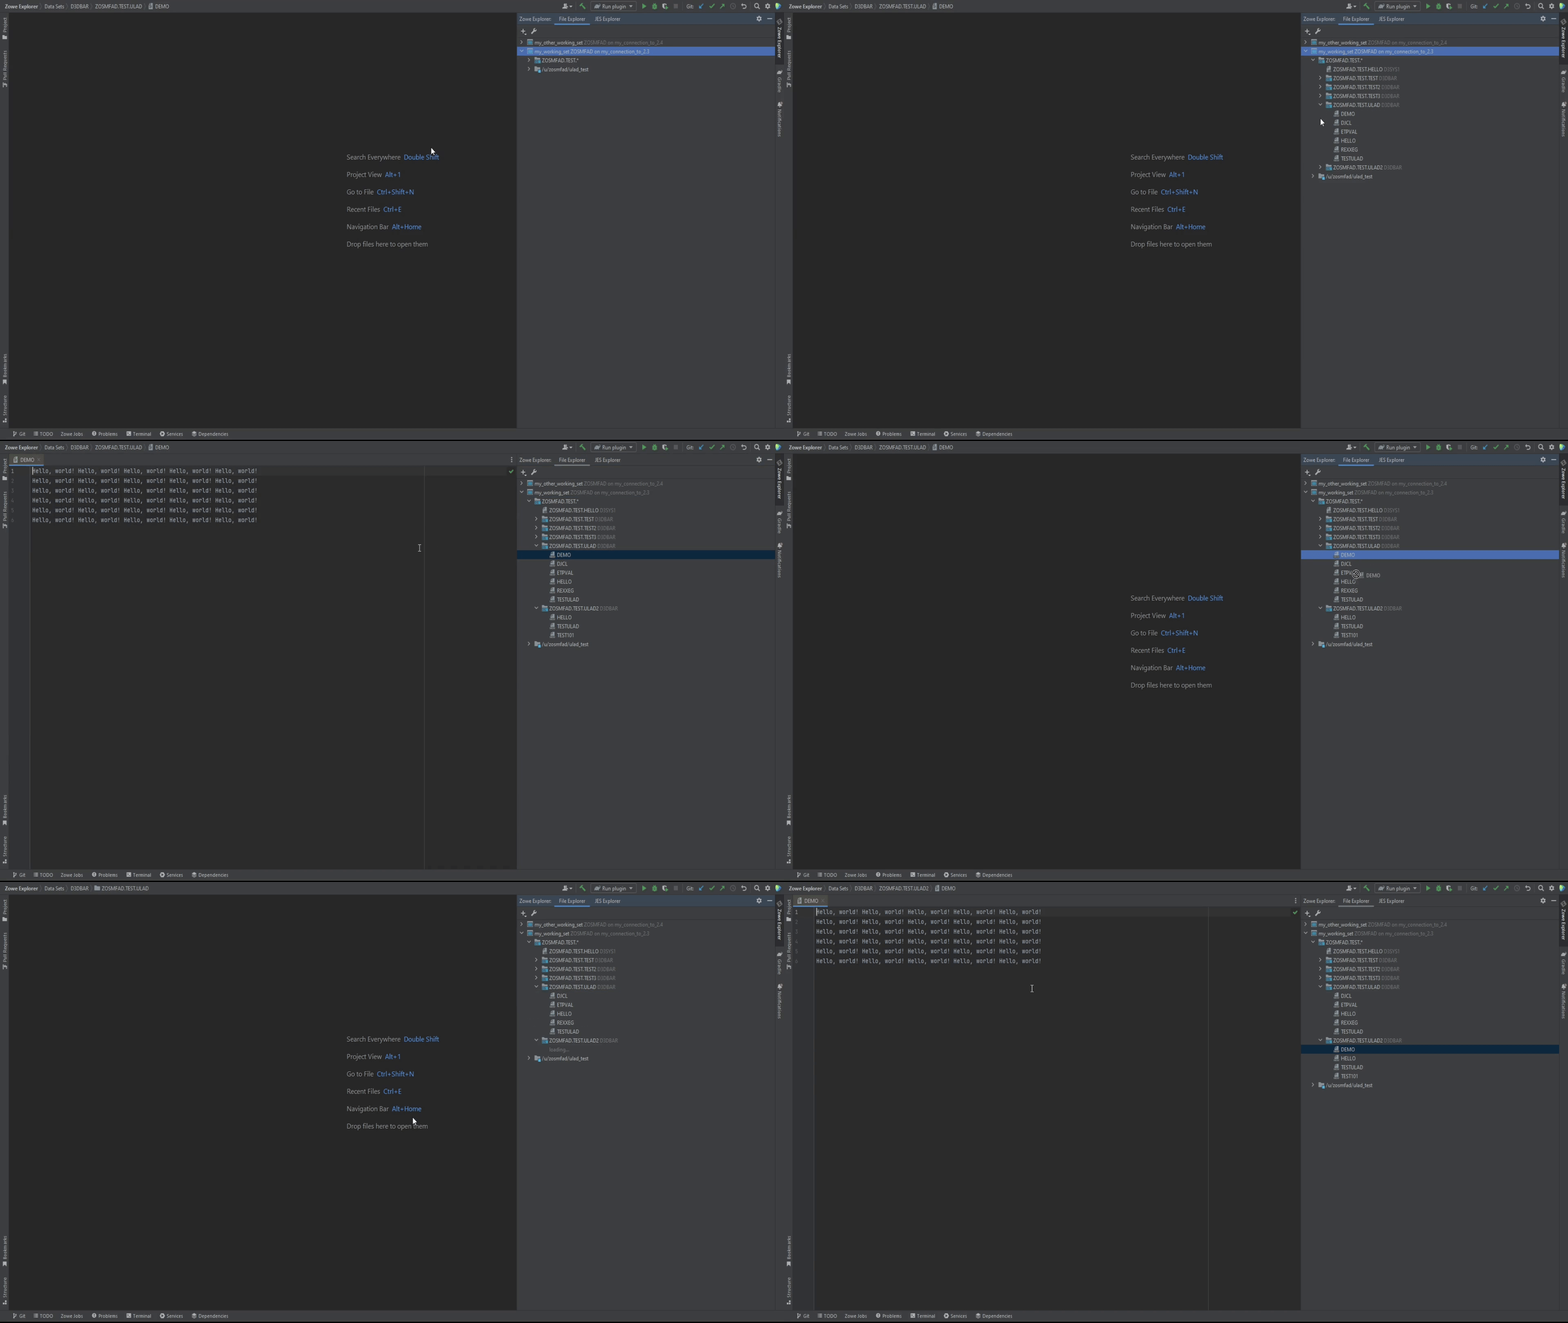
If a sequential dataset is being moved to PDS, the name will be trimmed to the last element in the HLQ.
To move a sequential dataset to a partitioned dataset:
- Right click on the PS to be moved
- Select Cut
- On the target dataset click Paste
- ...or just drag and drop it
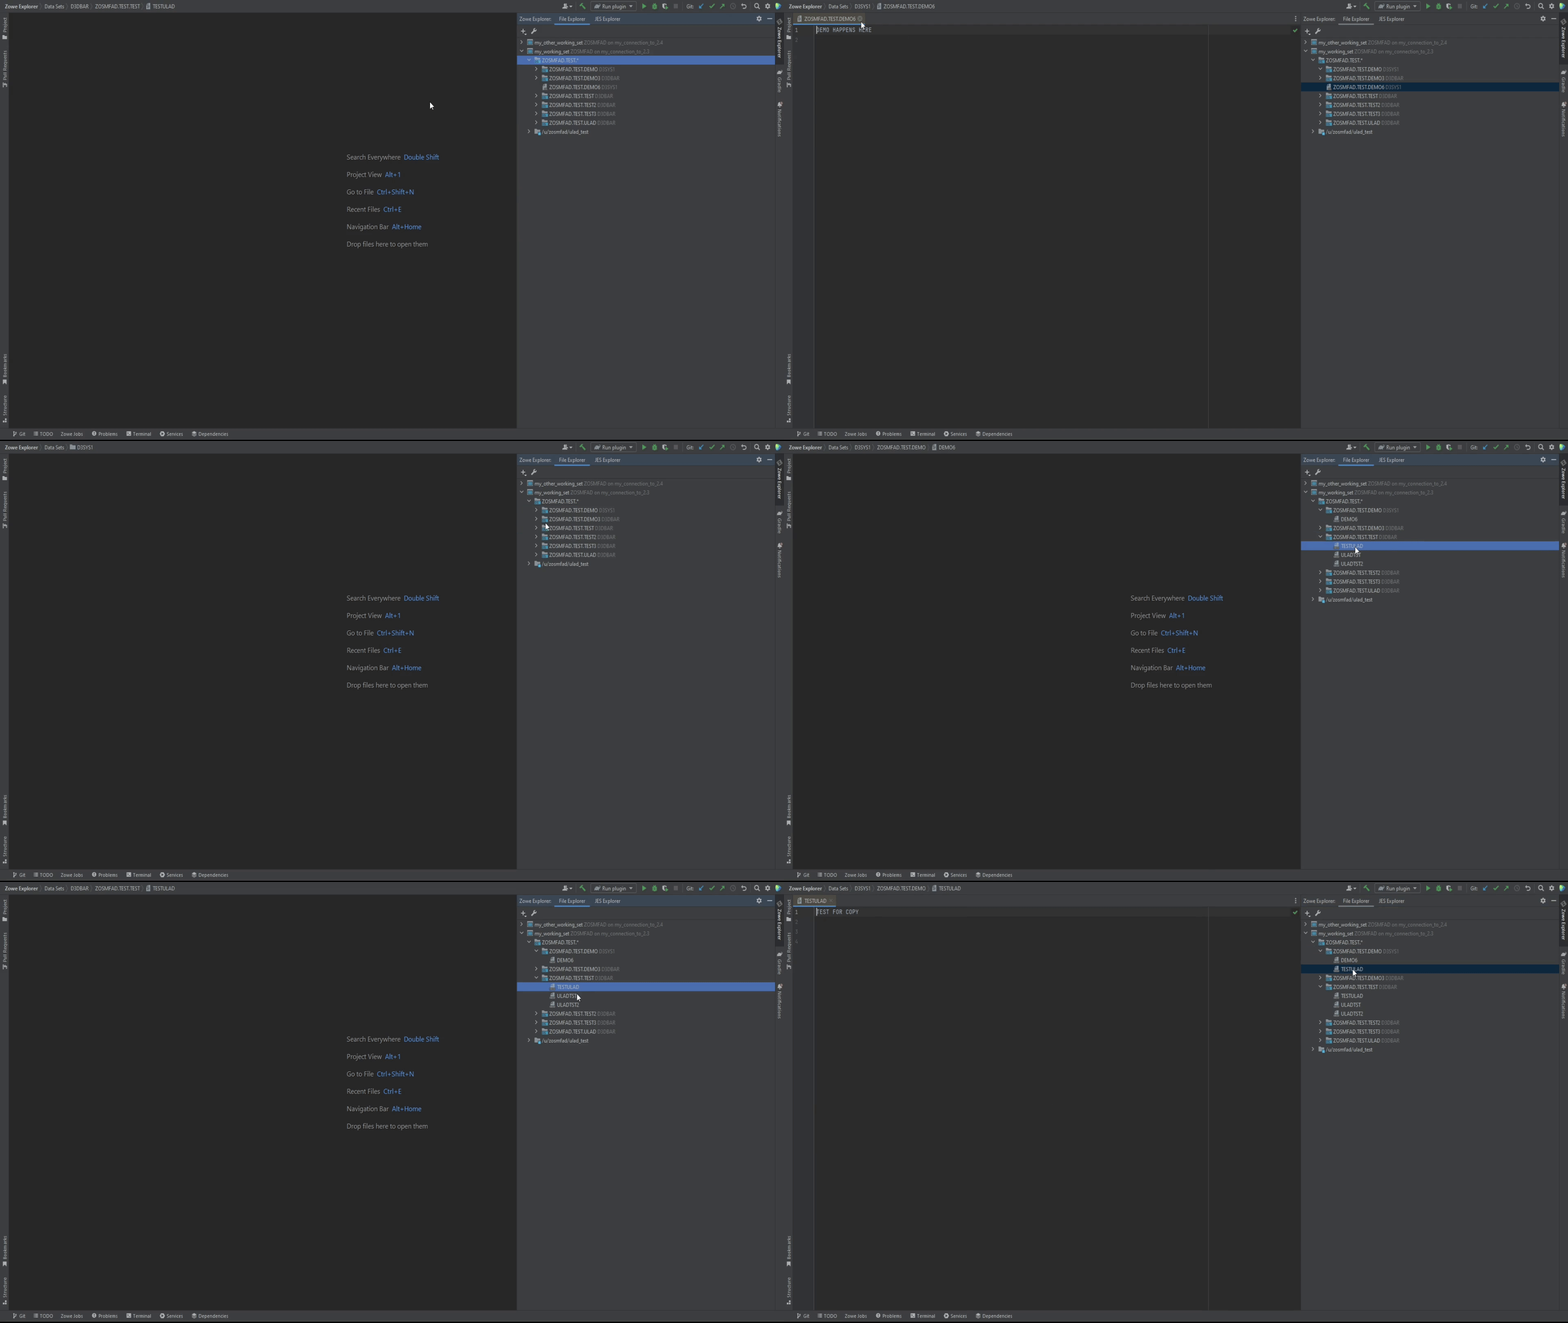
To copy member from one dataset to another:
- Right click on the member to be copied
- Select Copy
- On the target dataset click Paste
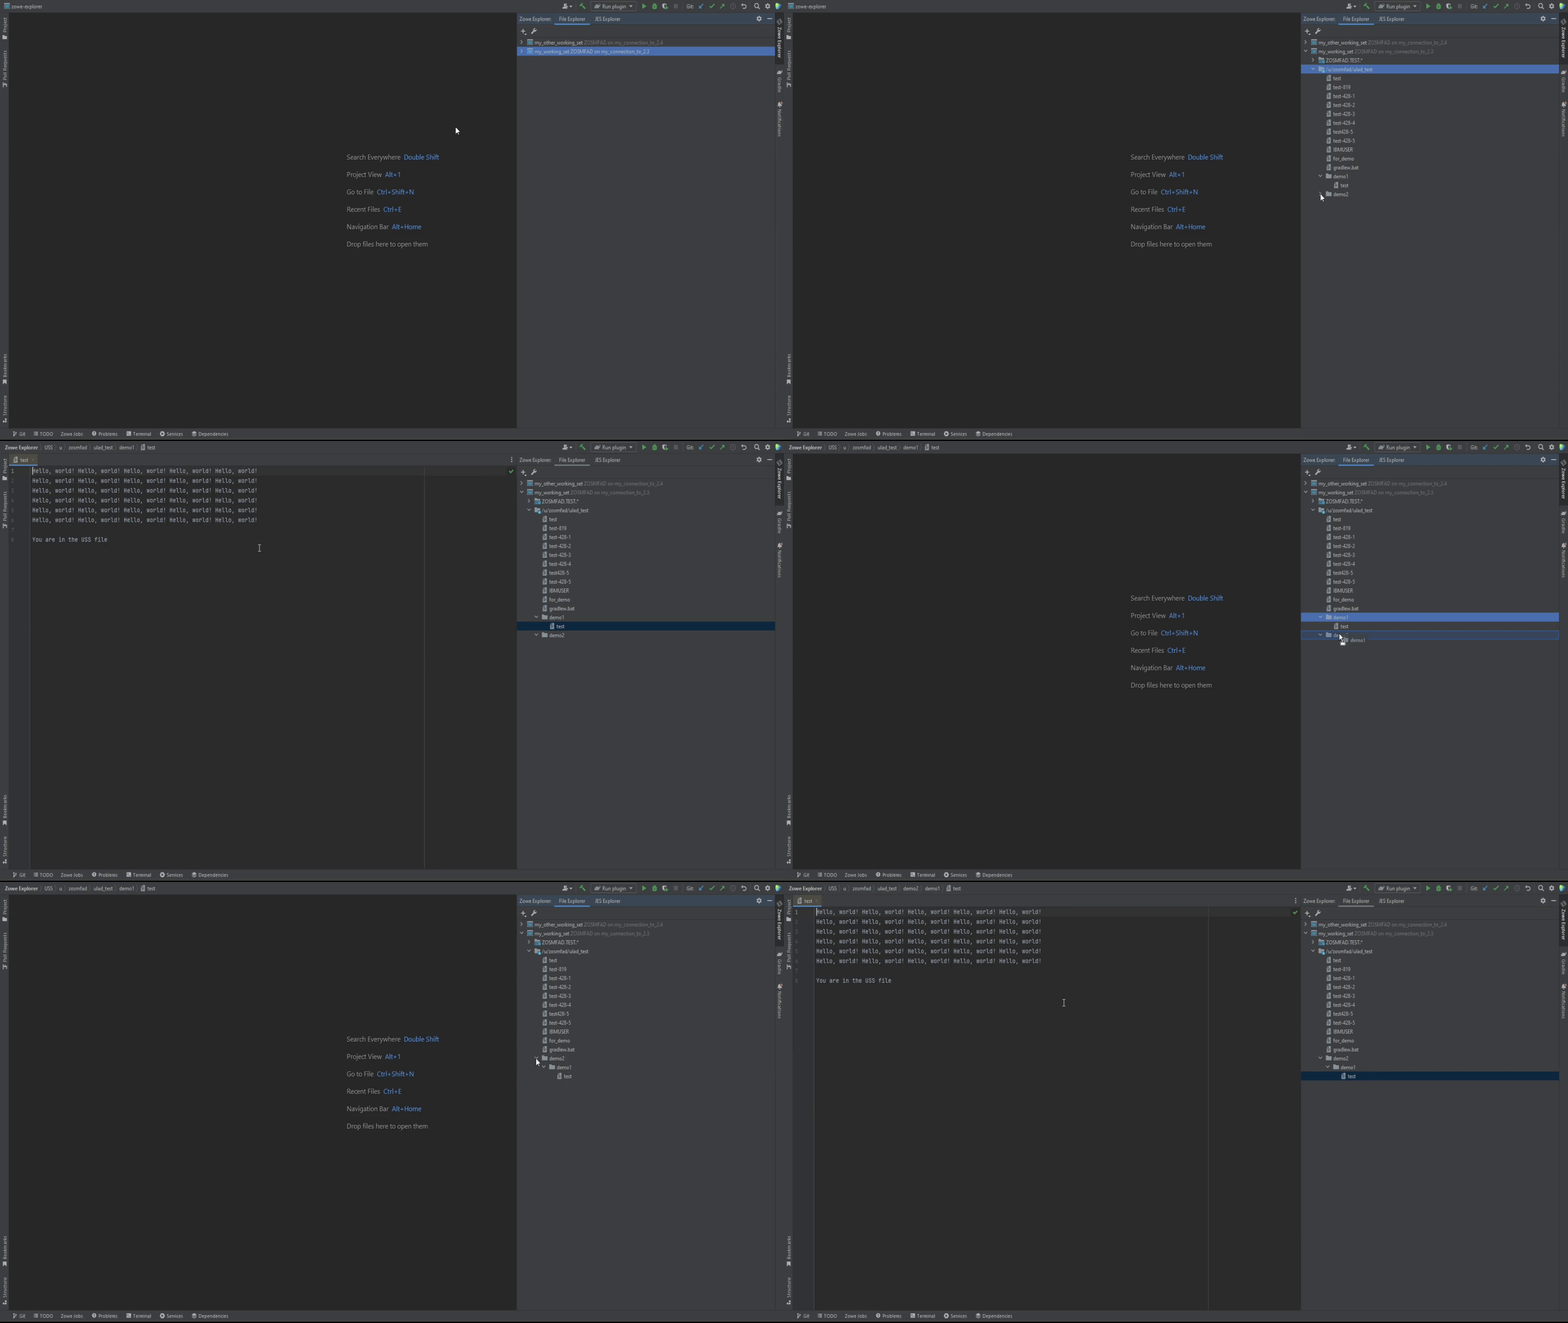
To move USS file or folder to another USS folder:
- Right click on the folder or the file to be moved;
- Select Cut
- On the target folder click Paste
- ...or just drag and drop it
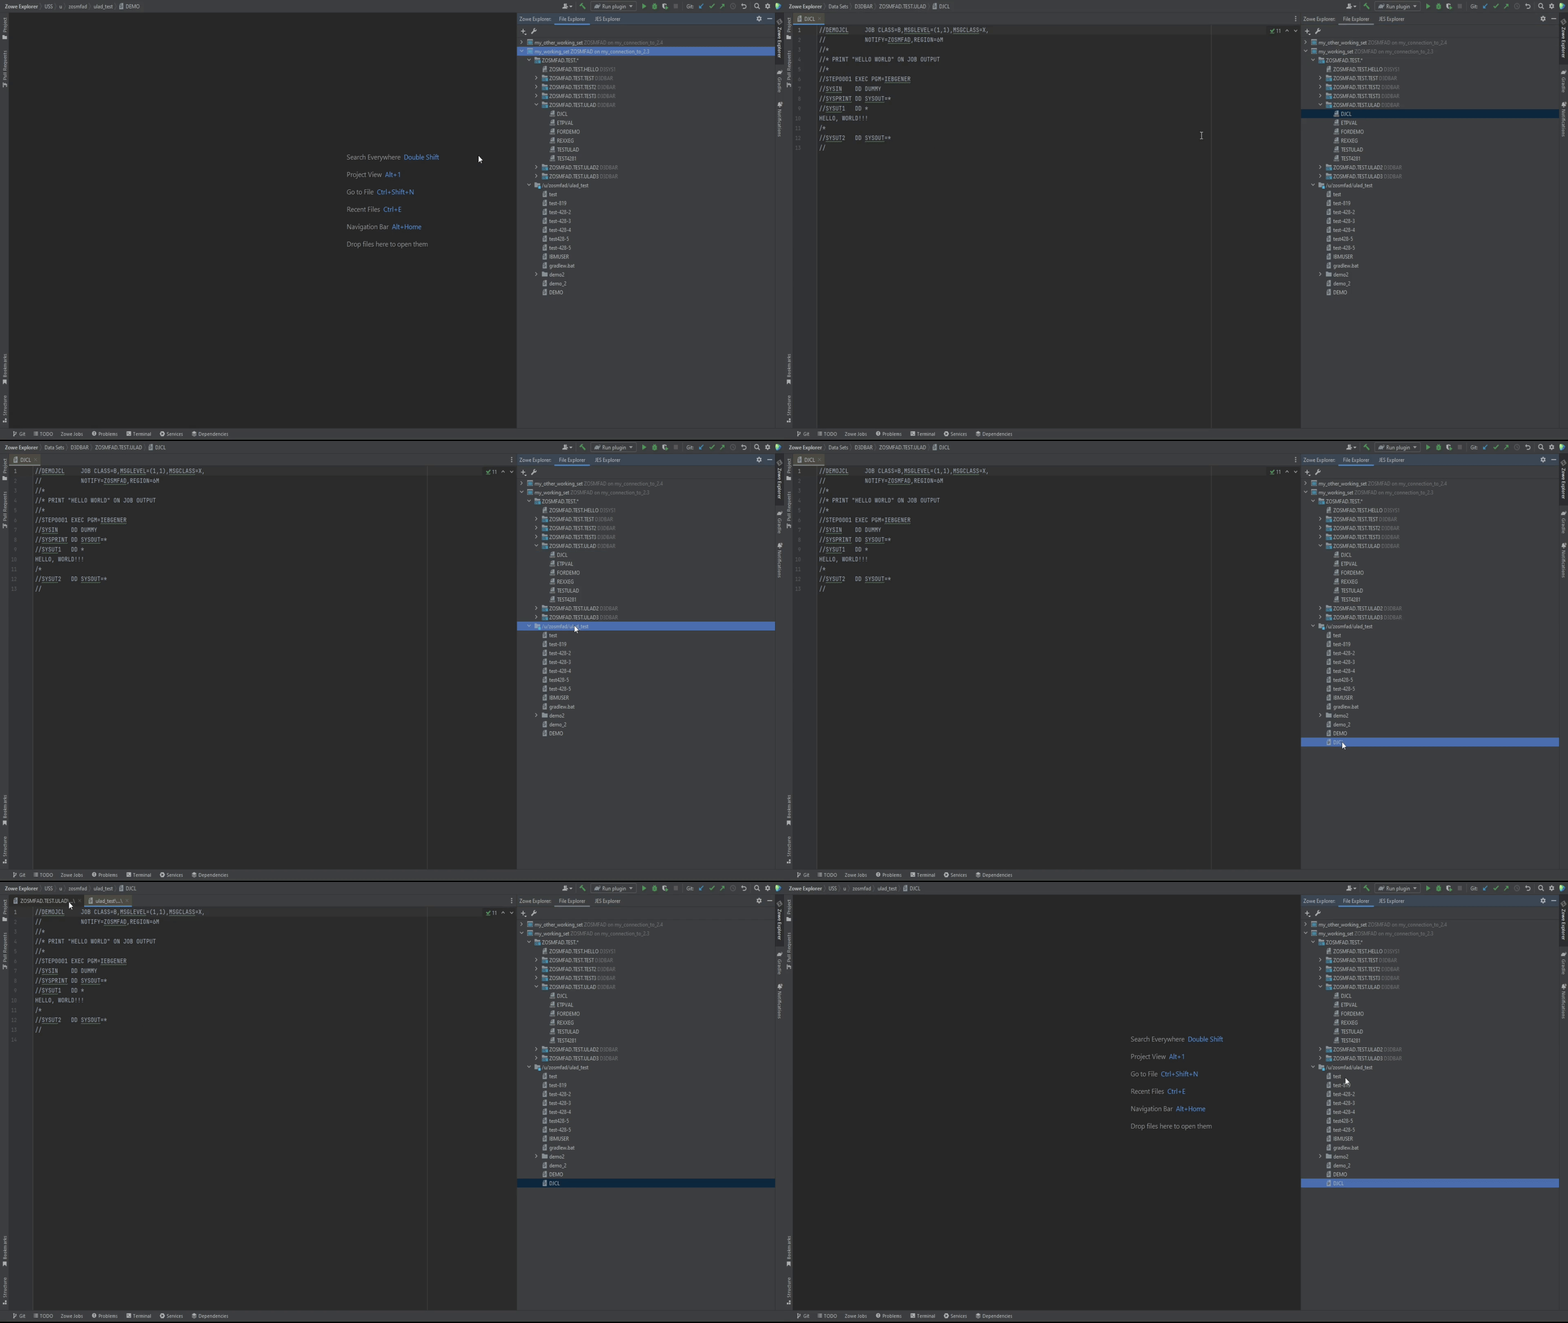
To copy PDS member to USS filesystem:
- Right click on the member to be copied
- Select Copy
- On the target folder or the USS filesystem mask click Paste
While moving or copying a partitioned dataset to the USS filesystem, it will be converted to a USS folder. All the contents will become USS files.
To move a PDS to USS filesystem:
- Right click on the PDS to be copied
- Select Cut
- On the target folder or the USS filesystem mask click Paste
- ...or just drag and drop it
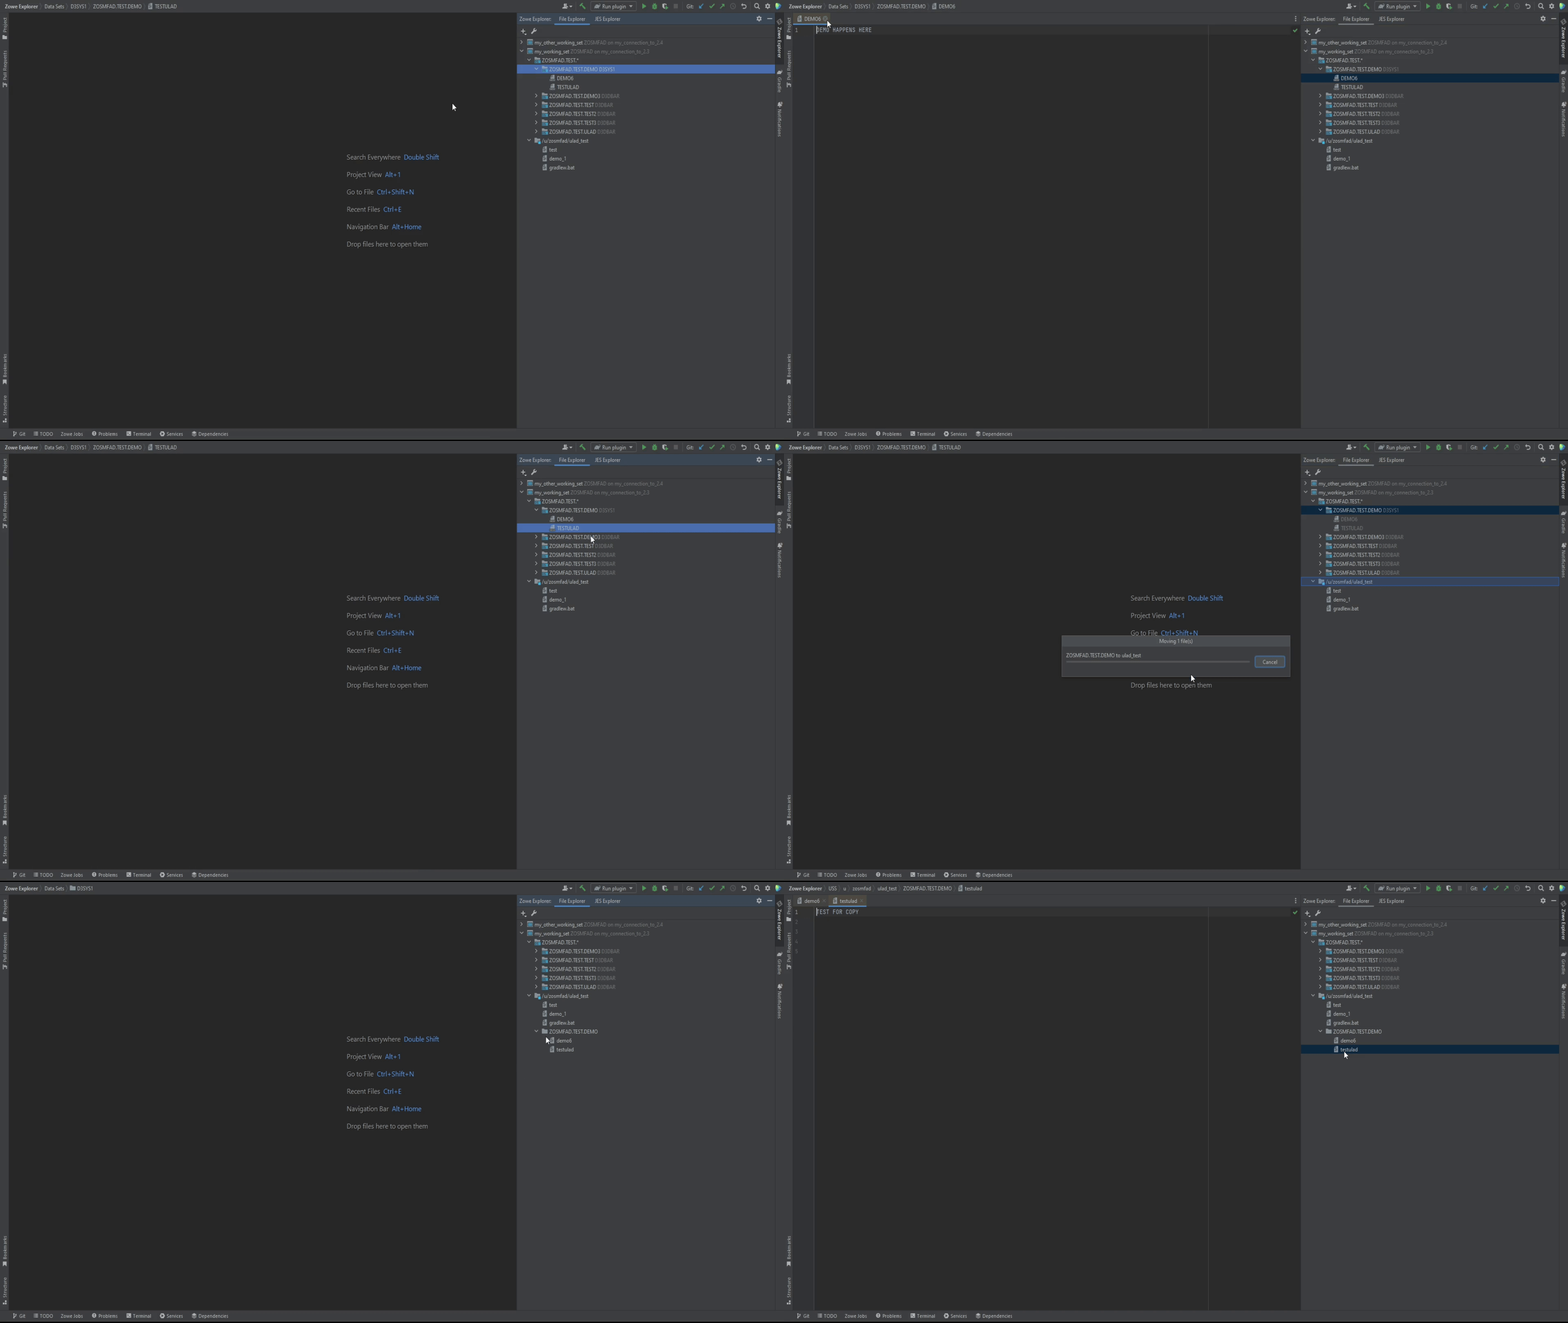
Also, it is possible to copy/move USS file to PDS dataset. The file will become the PDS member.
Be aware: the file name being copied/moved should be no more than 8 symbols. Also, see the limitations and rules for the file being copied
To move USS file to a PDS:
- Right click on the file to be copied
- Select Cut
- On the target PDS click Paste
- ...or just drag and drop it
Cross-system copy
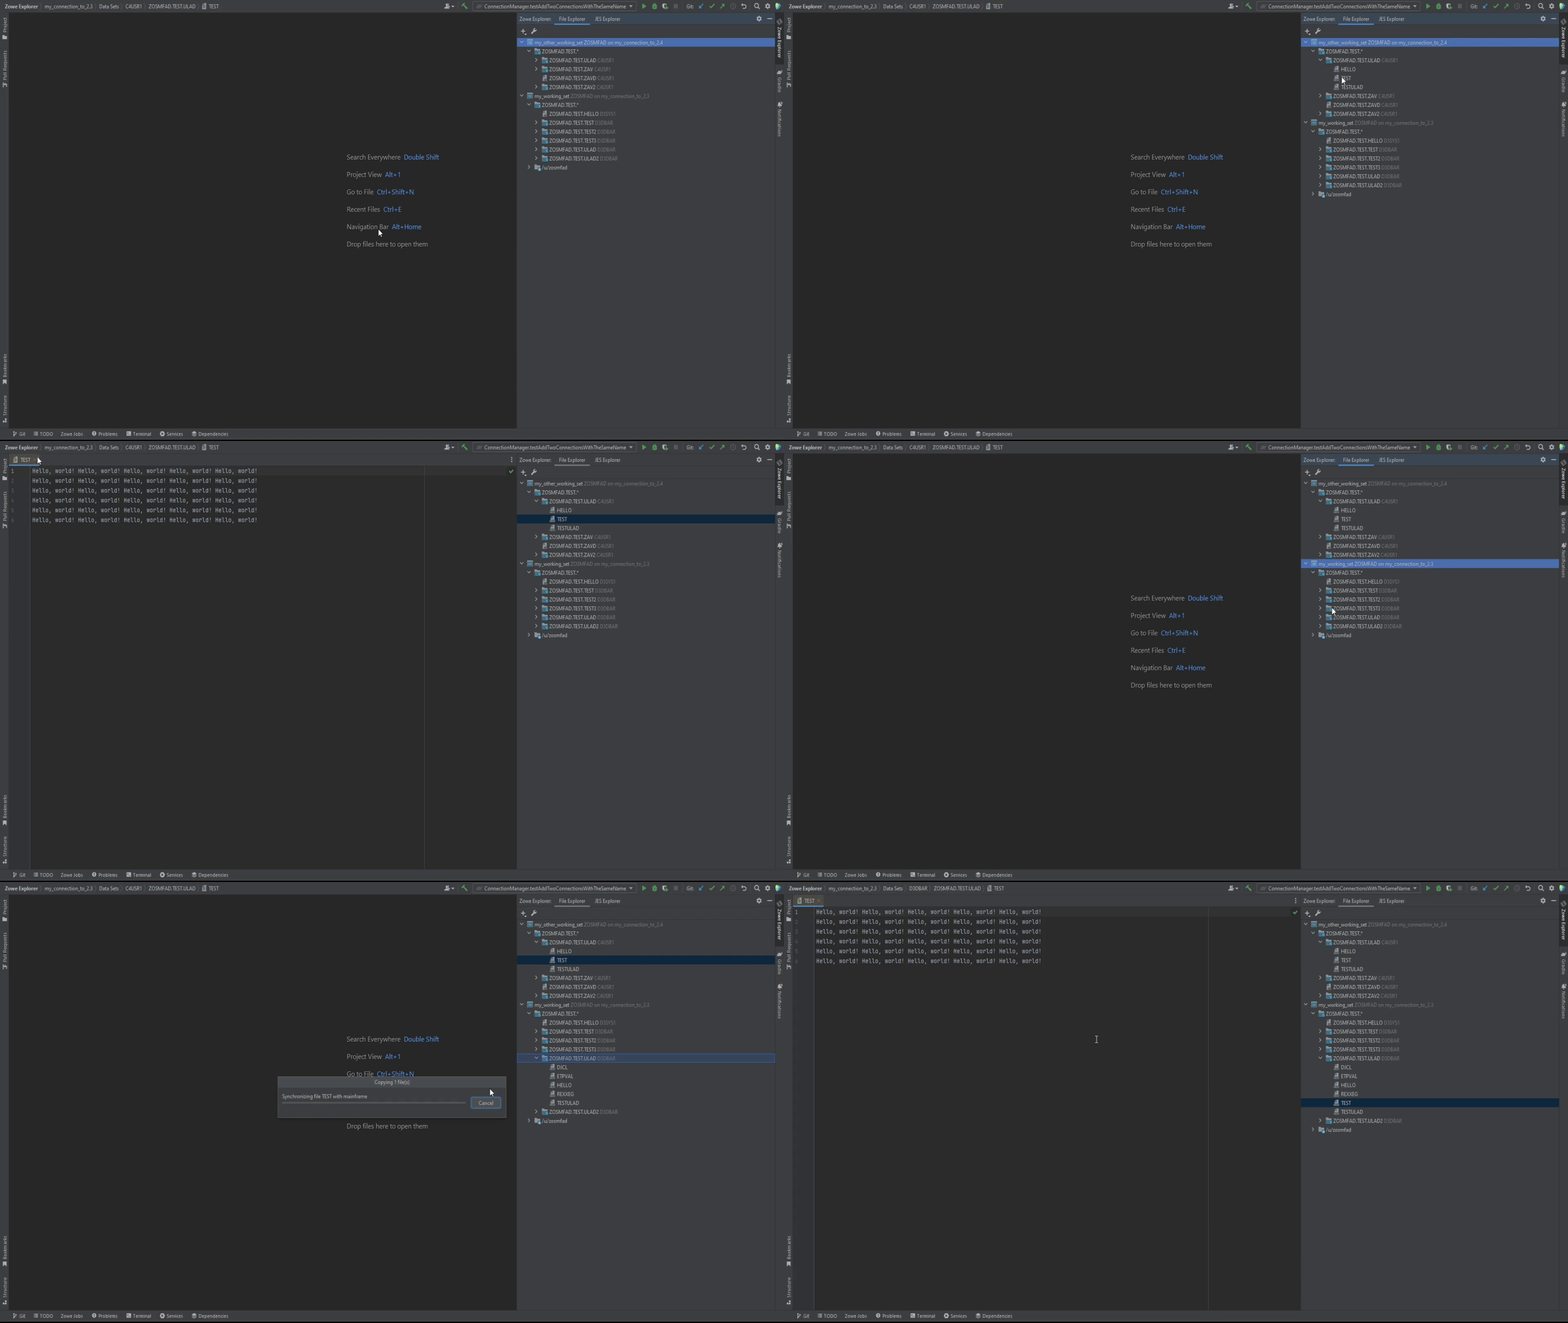
The plug-in makes it possible to move and copy z/OS datasets and USS files between different system. E.g.: a user has two systems, the first - z/OS 2.3, the second - z/OS 2.4. So, it is possible to copy or move files and datasets either from z/OS 2.3 to z/OS 2.4, or vice versa. The rules of copying and moving that are described previously, are also applicable to such kind of action.
To copy/move element from one system to another:
- Right click on the element to be copied/moved
- Select Copy/Cut
- On the target system's element click Paste
(Use drag and drop to move elements faster)
Working with JES Working Sets
To operate with your JCL jobs, ensure you create a JES Working Set first, which will hold all the filters for the JES Explorer.
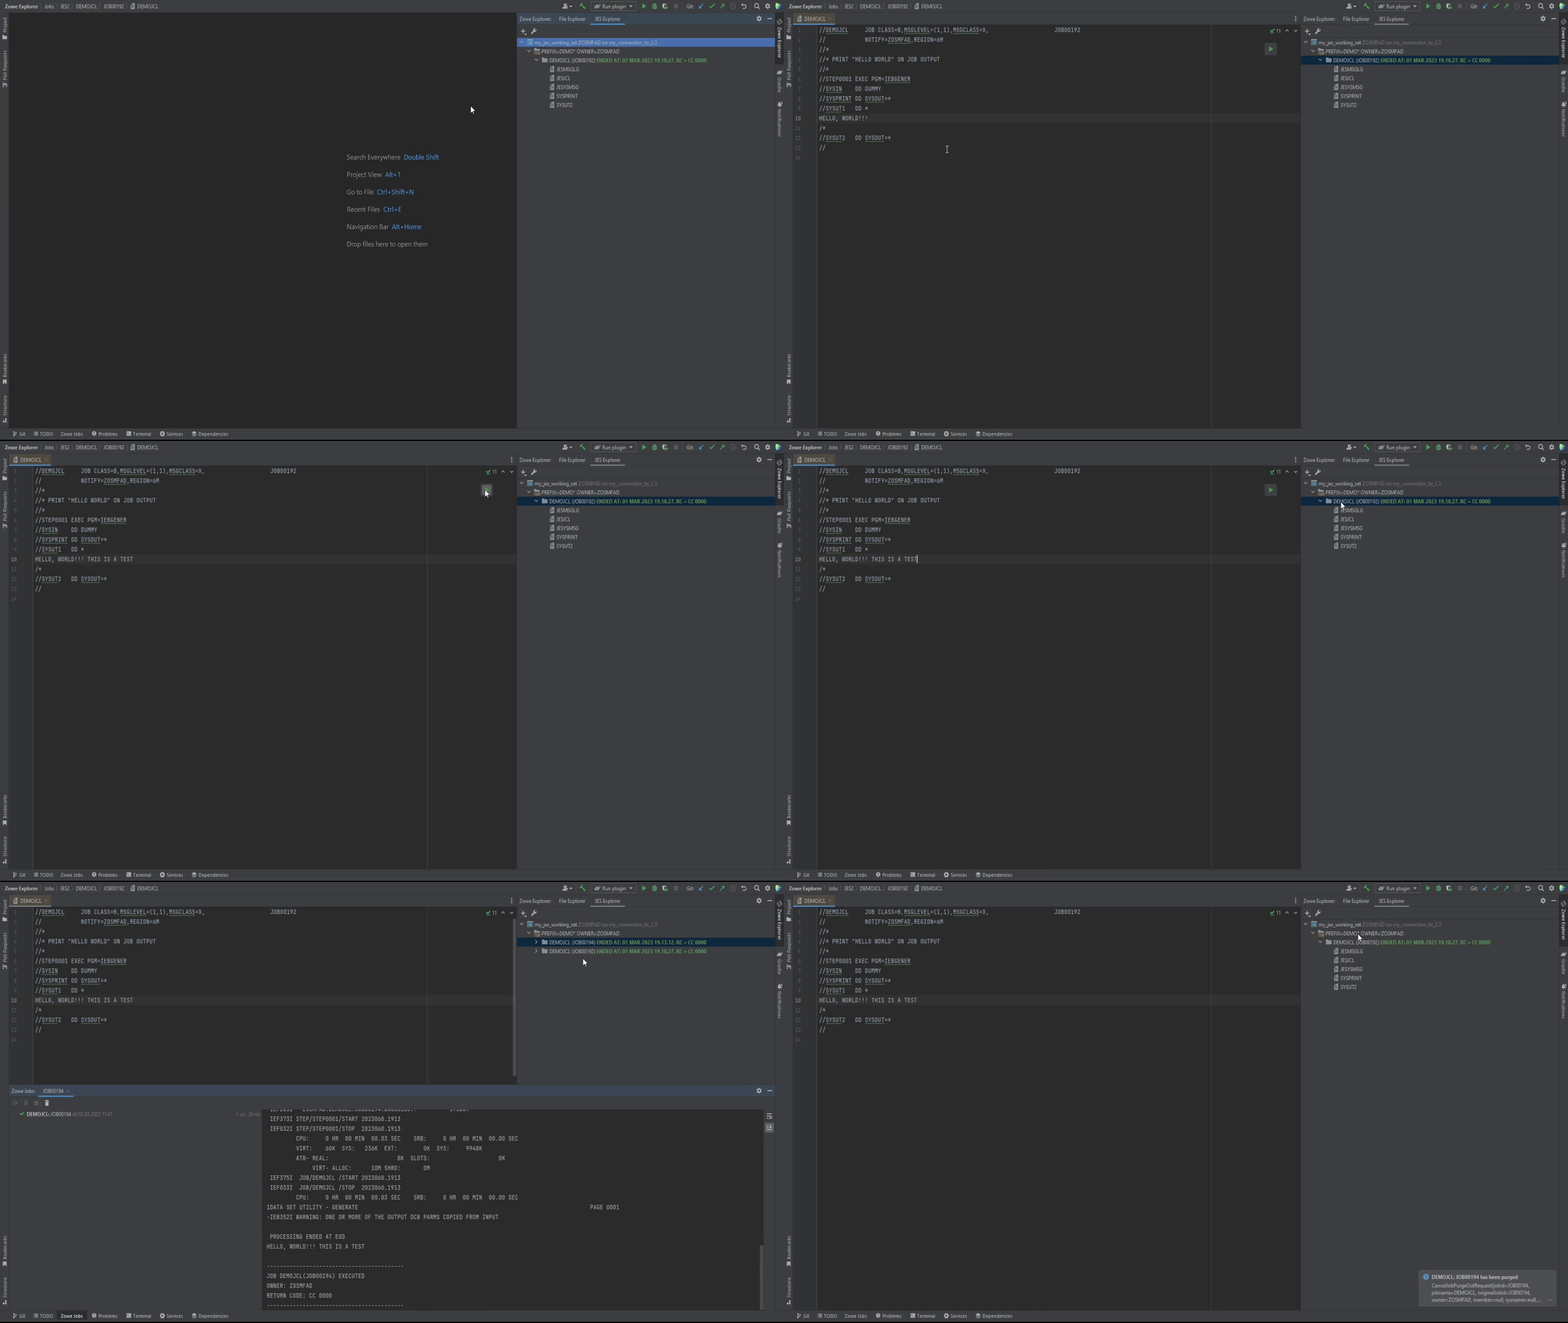
With the plug-in it is possible to view a status of jobs, view full log of a job run, view and edit jobs' JCLs, submit them right after they are edited, purge them.
To edit JCL of a job and run it just after it is edited:
- Right click on a job
- Select Edit JCL, the JCL will appear in the editor
- Change the JCL as you want
- Click green button Submit Job in the edittor
After the job is started, a console view will appear. In the console view it is possible to see the full execution log of the job.
To view the execution log of the job again:
- Right click on the job
- Select View Job
Also, it is possible to control the job execution through the console view.
If you don't need the job anymore:
- Right click on the job
- Select Purge Job (Delete is the keyboard shortcut)
TSO Command Line Interface
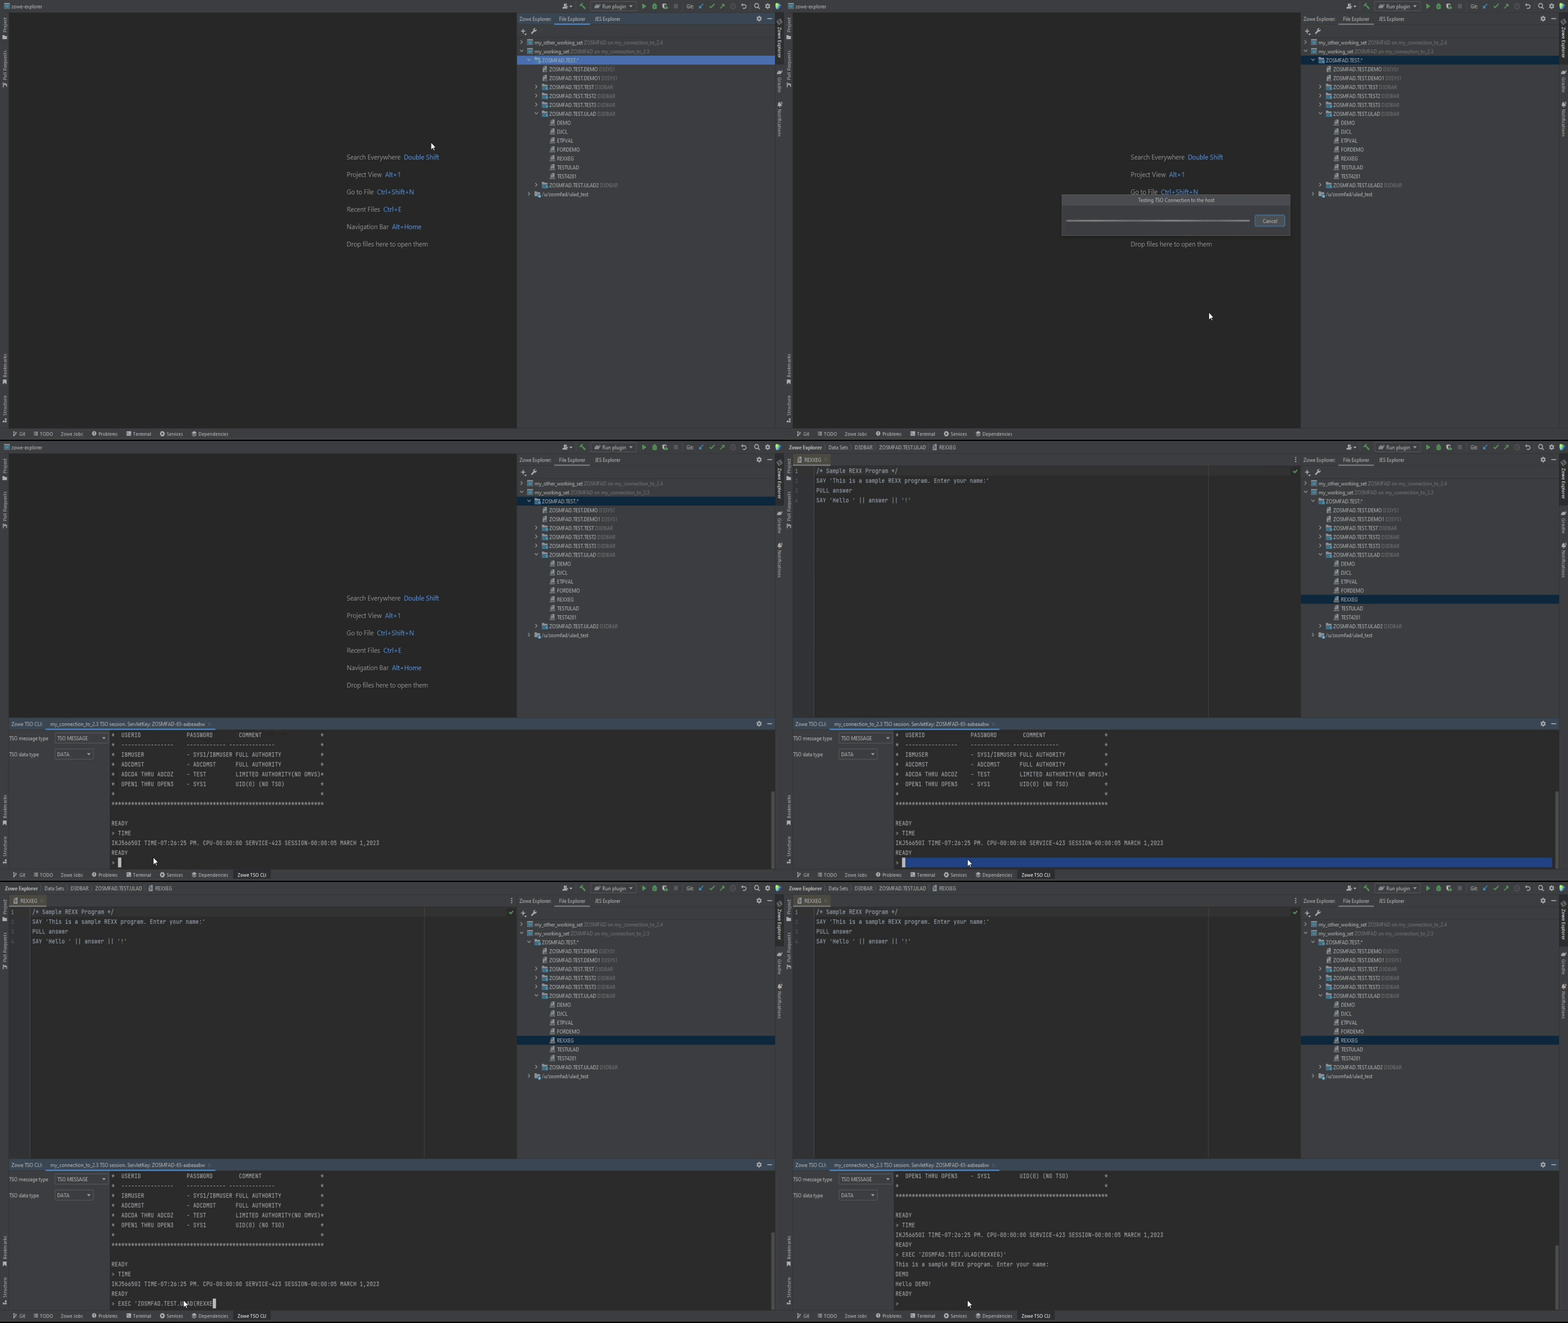
Starting from the v1.0.0 of the plug-in, there is a feature to send TSO commands directly from the IntelliJ Platform IDE.
To start using the TSO Command Line Interface:
- Click + in the Zowe Explorer view
- Select TSO Console
- In the dialog appeared, type in all the necessary parameters (the default ones are most likely to fit), click OK
After that, the TSO Command Line Interface should appear. You can type in TSO commands, as well as run any possible scripts.
